
Are you looking for a cure for baldness? A hair patch treatment is a modern non-surgical grooming procedure. It involves applying a custom-fit hair patch to cover thinning spots on your scalp. This treatment blends natural human hair with your existing hair to restore your look.
The entire process is quick and completely painless. It requires no surgical incisions or healing downtime. It is designed to match your hair color, density, and texture perfectly. In this guide, we provide a complete overview of this highly popular treatment.
Understanding the Hair Patch Treatment Process
Hair loss can affect your daily social interactions. Many people feel anxious about their appearance. Fortunately, a hair patch treatment offers an easy escape. It is a highly popular option for modern men.
This process does not rely on surgical methods. There is no risk of scars or infections. You get instant results in a single salon visit. It is one of the most reliable ways to hide baldness.
First, a senior stylist assesses your hair. They take detailed scalp measurements. This ensures the patch fits the balding area exactly. They match the hair system to your natural hair color.
Phase 1: The Initial Consultation and Design
Every successful treatment starts with a consultation. Stylists evaluate your scalp health. They discuss your daily styling preferences. They also check the shape of your face.
This step helps in choosing the right base. Some prefer swiss lace for high breathability. Others choose polyurethane skin for maximum hold. If you have advanced hair loss, a non-surgical hair replacement treatment is highly customized to meet your specific needs. The stylist will guide you through this process.
The density of the patch is selected carefully. It should not look overly thick. A natural graduation of hair is key. This makes the transition from forehead to hair look real. It ensures your hair flows naturally.
Phase 2: Scalp Preparation and Cleaning
Before fitting, the scalp must be prepared. The stylist gently shaves the target bald area. This creates a smooth surface for attachment. It is a painless and quick step.
Next, they wash the area thoroughly. They use specialized antiseptic cleansers. This removes oils, sweat, and dead skin cells. Clean skin ensures a stronger adhesive bond.
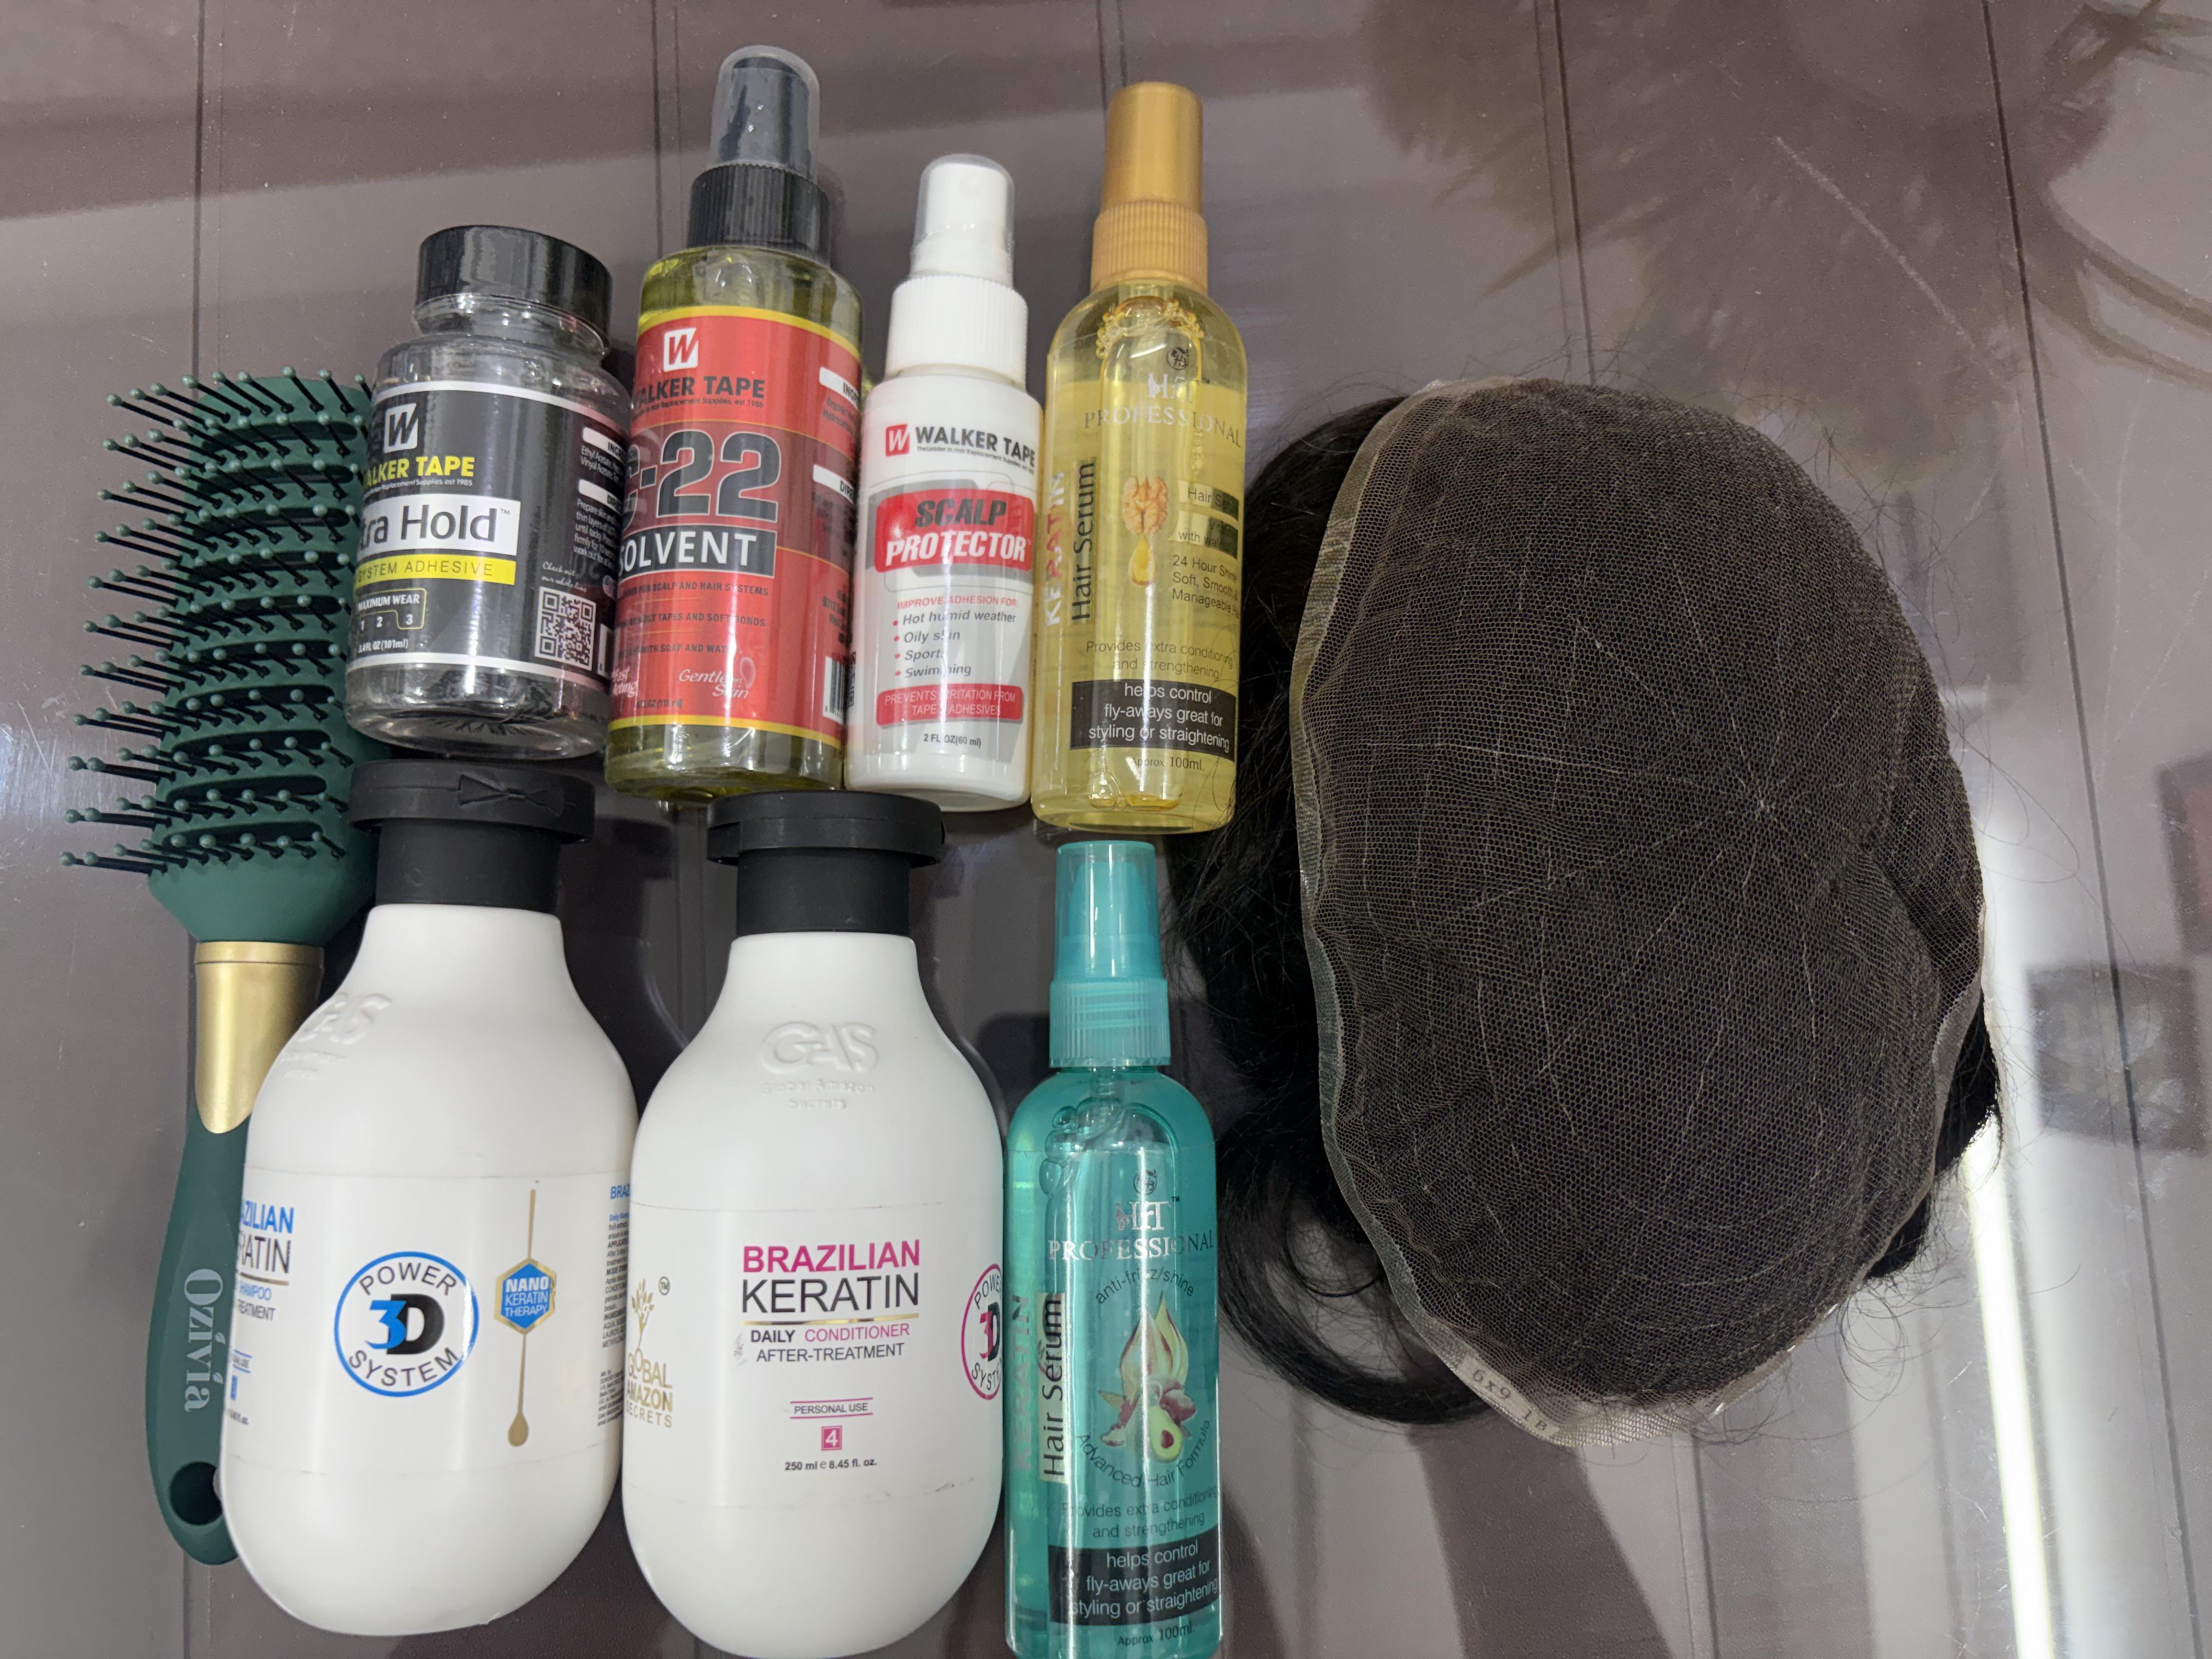
Finally, they apply a scalp protector product. This acts as a barrier on the skin. It protects the scalp from direct contact with adhesives. It also blocks sweat and sebum from breaking down the bond.
Phase 3: Fitting and Custom Hairline Design
Once the scalp is ready, fitting begins. The stylist places the custom patch on the shaved area. They ensure it is aligned perfectly. The placement determines the final look of your hair.
For a realistic front line, the hairline is shaped. Stylists use advanced techniques. A custom hairline design service ensures the front edge blends seamlessly with your skin. This makes the patch look like growing hair.
Phase 4: Bonding and Securing the System
Securing the system is a vital step. Stylists apply medical-grade adhesives or double-sided tapes. The adhesive is placed along the border of the patch. The patch is then pressed firmly onto the scalp.
The bonding agents are completely safe for the skin. They are FDA-approved and hypoallergenic. They form a strong, waterproof membrane. This keeps the hair system fixed for several weeks.
For those with extensive hair loss, natural-looking full hair wigs are also available. However, a patch is preferred for localized crown thinning. It offers a lighter and more targeted solution.
Phase 5: Hair Blending, Cutting, and Styling
After bonding, the patch hair is very long. The stylist must cut and style it. This is where the magic happens. The stylist cuts the patch hair to your desired length.
They blend it carefully with your natural side hair. They use texturizing shears. This eliminates any visible gaps between the patch and your own hair. The transition becomes completely seamless.
You can choose your favorite hairstyle. The stylist can style it messy, combed, or spiked. They will teach you how to maintain the style. This final touch completes your amazing transformation.
Comparing Treatment with Surgical Alternatives
Many compare hair patch treatment to surgical transplants. A transplant requires moving hair follicles. It is a painful procedure. It also takes 12 months to show full results.
In contrast, a hair patch treatment is instant. It takes just 90 minutes. It is also much cheaper. To discover more benefits, check the benefits of wearing hair patches for men of all ages. It is a stress-free route to hair restoration.
A transplant also depends on donor hair. If you are fully bald, a transplant cannot help you. A hair patch treatment works for everyone. It guarantees thick density regardless of your baldness stage.
Post-Treatment Care and Professional Maintenance
To keep the system fresh, maintenance is required. You must visit the studio every 3 to 4 weeks. The stylist will remove the patch gently. They use a safe organic solvent.
They clean your scalp thoroughly. They also wash and condition the hair patch. They remove old adhesive residue from the base. Finally, they re-apply fresh adhesives and secure the patch again.
Between visits, you must practice daily care. Brush the hair gently. Avoid scrubbing the scalp in the shower. To understand the basics of these systems, read our beginner guide to non-surgical hair systems. This keeps your patch looking new for months.
Conclusion: Restore Your Confidence Today
Hair patch treatment is a safe, fast, and effective solution. It provides a complete transformation without surgical pain. It allows you to style your hair as you like. With proper care, it offers a reliable way to regain your youth and confidence.